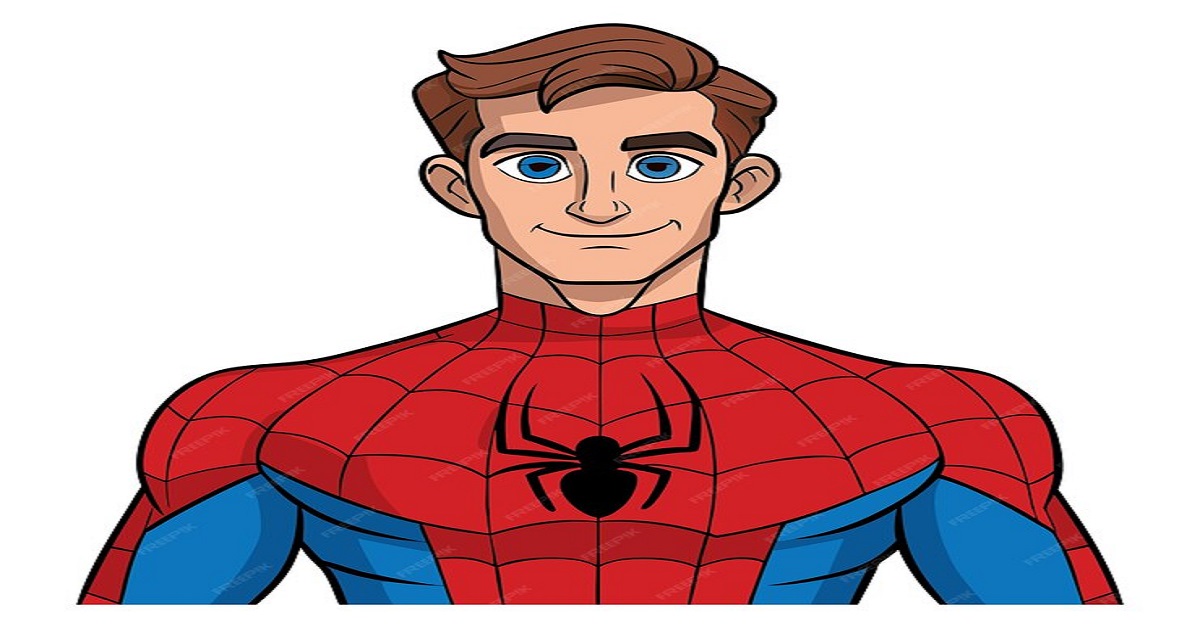
Spider-Man is one of the most iconic superheroes in comic book history. Drawing him can be both challenging.
And rewarding experience, given his intricate costume and dynamic poses. This guide will walk you through the process of drawing Spider-Man, from sketching the basic structure to adding the final touches.
1. Materials Needed
Before you begin, gather the necessary materials:
- Pencil: For initial sketches and outlines.
- Eraser: To correct mistakes and refine your drawing.
- Inking Pen: To finalize the drawing with clean lines.
- Colored Pencils or Markers: For adding color.
- Drawing Paper: Preferably a smooth surface for clear lines.
2. Understanding spider-man I’s Anatomy
Basic Proportions
Start by understanding Spider-Man’s proportions. He typically has a lean, muscular build. Here’s a basic breakdown:
- Head: The head is approximately one-eighth of the total height.
- Torso: About two heads tall.
- Arms and Legs: Should be roughly proportional to the torso, with legs being slightly longer.
Pose and Gesture
Spider-Man is known for his dynamic poses. Decide on a pose that suits your drawing, such as a leaping action, wall-crawling, or a classic web-shooting stance. This will influence the anatomy and proportions of your drawing.
3. Sketching the Basic Shapes
Drawing the Skeleton
- Head: Start with an oval shape for the head.
- Torso: Draw a vertical line down from the head and add an elongated oval for the torso.
- Arms and Legs: Use simple lines and ovals to sketch out the arms and legs. Keep them lightly drawn; you will refine these shapes later.
Adding Guidelines
- Facial Guidelines: Draw a vertical and horizontal line across the head to help place facial features.
- Joint Placement: Mark the joints of the arms and legs to ensure proper articulation and proportions.
4. Refining the Sketch
Defining the Anatomy
- Head and Face: Refine the oval into Spider-Man’s head shape, and sketch out the eye shapes and web pattern guidelines.
- Torso and Muscles: Define the chest and abdominal muscles. Spider-Man’s costume accentuates his muscular physique.
- Arms and Legs: Add muscle definition and joints. Note how Spider-Man’s suit fits tightly, highlighting his muscle structure.
Adding Details
- Face Details: Draw the large, expressive eyes typical of Spider-Man’s mask. They should be almond-shaped and angled.
- Web Pattern: Lightly sketch the web pattern on the suit. This will be more defined once you ink the drawing.
5. Inking the Drawing
Outlining
- Inking Tools: Use an inking pen or fine liner to go over your pencil lines.
- Head and Facial Features: Carefully outline the mask and eyes. Make the eyes bold and expressive.
- Costume Details: Outline the web pattern and any other costume details such as the spider emblem on the chest.
Final Touches
- Line Weight: Vary the line weight to create depth and emphasize different parts of the drawing. Thicker lines can be used for the outer edges, while thinner lines can be used for details.
- Clean Up: Once the ink is dry, erase any remaining pencil marks.
6. Adding Color
Choosing Colors
Spider-Man’s costume is typically red and blue. Ensure you have these colors ready, along with black and white for shading and highlights.
Coloring Technique
- Base Colors: Start by filling in the red and blue areas of the suit. Use even strokes for a smooth finish.
- Shading and Highlights: Add black or darker shades to create shadows and depth, especially around muscles and folds in the suit. Use white or light colors to add highlights where the light hits.
Web Pattern
- Color the Web: If you want the web lines to stand out, consider outlining them with a thin black pen after coloring. Alternatively, you can use a contrasting color.
7. Adding Background and Effects
Simple Backgrounds
- Cityscape: A simple cityscape with skyscrapers can complement Spider-Man’s dynamic pose. Draw lightly in the background to avoid drawing attention away from the main character.
- Web Effects: Add web effects around Spider-Man if he’s in mid-action. This can be done with light strokes or with a contrasting color.
Special Effects
- Motion Lines: For a sense of movement, add motion lines or blur effects. This can be done with light pencil strokes or digitally if you’re working on a tablet.
8. Final Review and Adjustments
Checking Proportions
- Proportions: Ensure that all parts of Spider-Man’s body are proportionate and correctly placed. Adjust any inconsistencies.
- Details: Double-check the web pattern and costume details to ensure they are crisp and clear.
Signature
- Sign Your Work: Don’t forget to add your signature to your drawing. This marks your artwork and shows pride in your creation.
9. Tips for Improvement
Practice Regularly
- Repetition: The more you draw Spider-Man, the more comfortable you’ll become with his anatomy and costume details. Practice different poses and angles.
- Study References: Look at various Spider-Man comics, movies, and art to understand different interpretations and styles.
Seek Feedback
- Critiques: Share your drawing with friends, family, or online communities to get constructive feedback. Use this to improve your skills.
Experiment
- Styles and Mediums: Try different styles, such as comic book or realistic, and experiment with various mediums like digital art or watercolor.
Conclusion
Drawing Spider-Man involves understanding his anatomy, practicing proportions, and mastering the details of his iconic costume. By following these steps and continuously practicing, you’ll be able to capture the essence of this beloved superhero in your artwork.
Remember, the key to improvement is perseverance and creativity, so keep drawing and experimenting with new techniques! This guide should give you a solid foundation for drawing Spider-Man and help you achieve a detailed and dynamic illustration. Enjoy the process and have fun with your artwork.
